Showing posts with label treasureddetails. Show all posts

Monday, February 4, 2013

Sewing Adventures

For Christmas I was given a sewing machine by my handsome husband, and I've been on sewing adventures ever since! I'm not very good yet--which is to be expected since the last time I touched a sewing machine was probably more than 20 years ago when I was just a child.

My first big project was a flannel baby blanket for a little fellow named August. Here he is wrapped up in his little "welcome to the world" gift.

What do you think?


The green one underneath him wasn't made by me. I made the one with the blue border :)

Thursday, November 15, 2012

Holiday Accessories by TreasuredDetails

I'm excited to announce some brand new accessories for the holiday season! Some of them went up for sale in my shop, TreasuredDetails, just today, and more will be rolling out as the week continues. Here's a brief introduction to some new great products.


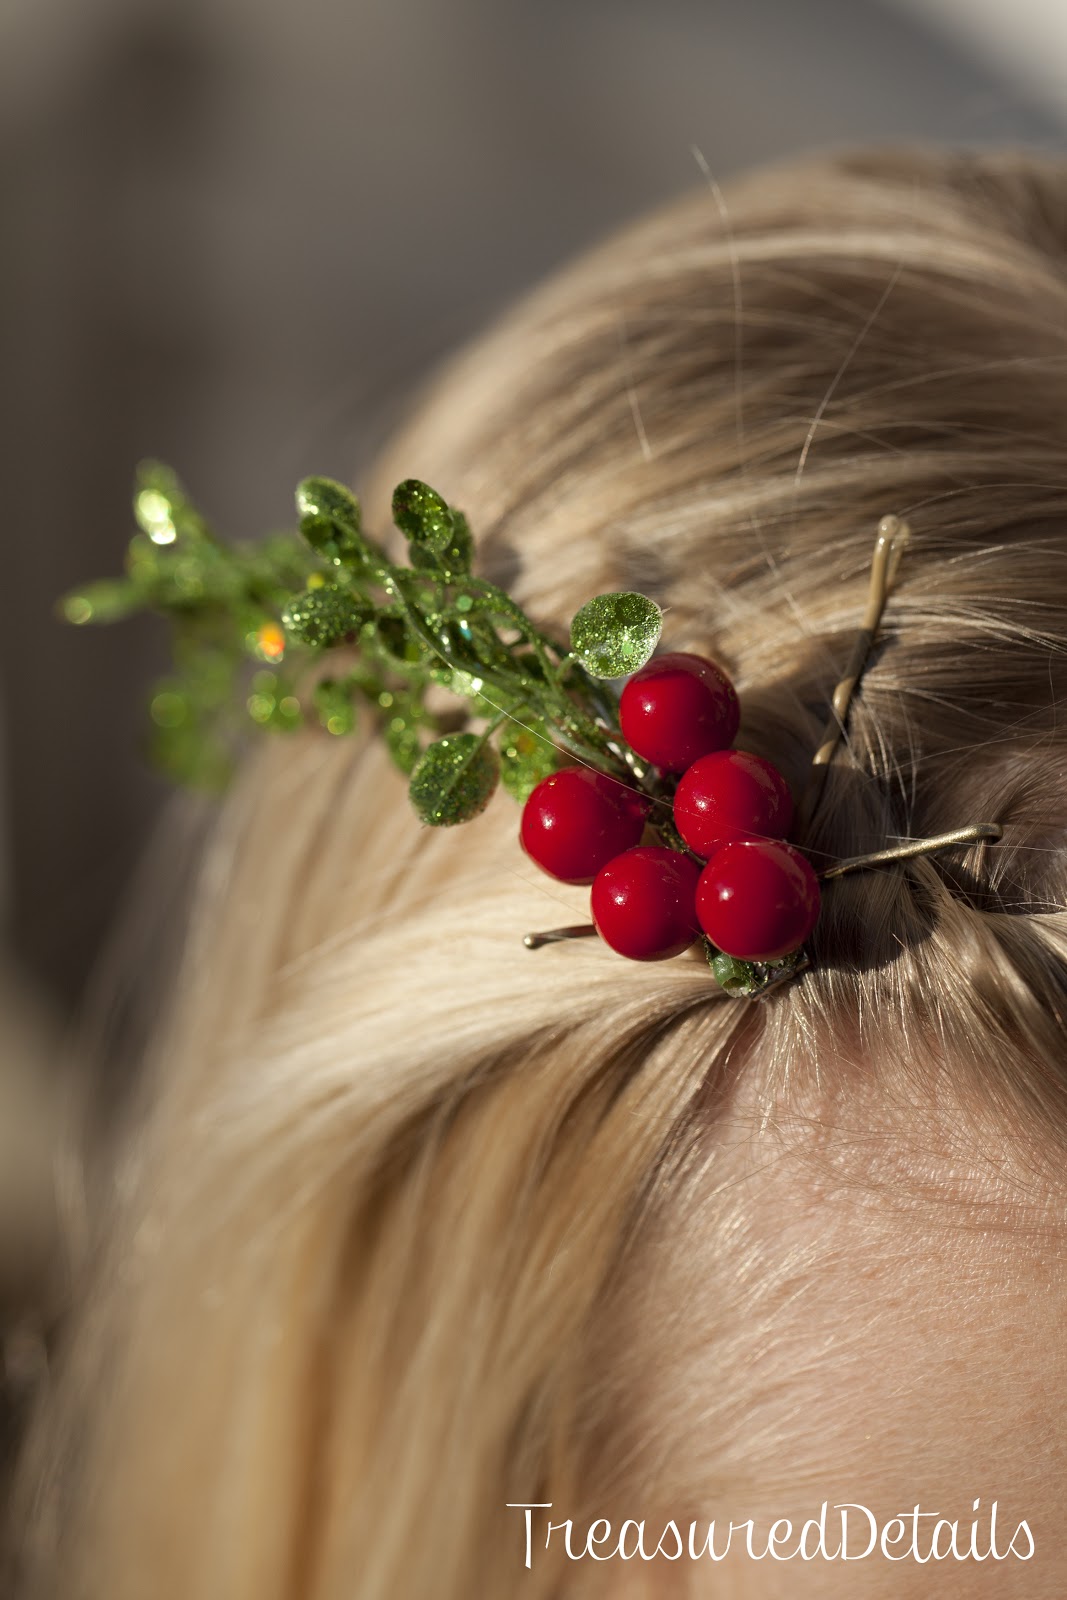
The first favorite of mine is the Glittery Holly Fascinator that was a huge hit with the models at our shoot earlier this month. This is a simply crafted piece that makes a statement. The glitter is bold and the colors are bright and festive. This is an accessory that will catch sunlight, moonlight, Christmas lights, and candlelight, and send it back sparkling beautifully! If you're interested, I have 5 available this holiday season, and may be persuaded to make some more, if you want them ;) You can buy it here.


Another brand new holiday listing today is the sweet and simple Silver Fern Bobby Pin Set. These have a powerful sparkle too, and because they're not specifically Christmassy, they can be a great accessory for New Years' or all-year-round evening wear. The set comes with a large and a small leaf for wear in an up-do. This also makes a great gift! You can buy this set here.


These little tiny Glitter Holly Bobbies in Green and Gold are a favorite of mine! I'm making a set for myself, because I just love the idea of wearing something cute and sparkly and festive, but not too overwhelming to my outfit! I have a few of these little sets available, so feel free to pick up more than one. These make great stocking stuffers too! The bobbies are available for sale here.


The last holiday item that I added for sale today was this pop of color with a snowflake applique. I love the idea of wearing this belt with a white lace dress (as pictured) for a holiday party. It would be a beautiful detail for a winter wedding dress as well, especially if the bride wants a little color in her ensemble...maybe even just for the reception. This particular sash is listed here

I love making customized sashes for any holiday or event, so please let me know if you'd like to chat about an idea you have. I'd love to make your dreams come true! 


Tuesday, November 13, 2012

Brand New Designs from TreasuredDetails

This summer and fall has marked the reinvention of TreasuredDetails, and I'm excited to begin unveiling some of my newest creative projects! I have always loved the idea of custom designs, enjoying working with women who are looking for something a little special, something just for them, for whatever event they happen to need an accessory for...weddings, proms, parties, professional photos, boudoir sessions, performances, or just for their own pleasure. "Custom" designs go a long way, but a potential buyer often needs a spring board, a "THIS is what I want...but different." And then we take it from that point, choosing the colors, the materials, and the "treasured details" that make your piece your own in every way! 

TreasuredDetails has specialized in hair accessories, cocktail hats, and veils, while only dabbling in sashes and shoe clips. We've now expanded to include far more! I invite you to follow me to stay up-to-date as the new items are rolling in and just waiting to be claimed and customized. 

TreasuredDetails Winter 2012/2013 Preview

In the image below, the lovely Amelia is modeling a feather pad hair fascinator. This hair piece was designed by me and handsewn with beautiful accents and details, including feathers of ivory and amber, a vintage rhinestone brooch, two types of vintage lace, sead pearls, rhinestones, and crystal beads. 

This feather pad was inspired by the debutantes of the 1920s. 


This next image depicts my lovely cousin Clarissa wearing a custom cocktail hat with a handsewn horsehair bow and handmade dotted tulle flower puff.  This hat is a collage of bright white, as it appears here, and would be a beautiful addition for the bride who favors the mid-century American look to her classic or vintage-inspired wedding, but like all designs, it can be customized for all purposes! Looking for the same thing in black? Prefer a birdcage veil on it's edge? It can be done!

This design was created with a 1960s lady in mind. 


This large purple dahlia clip is being modeled by the lovely Diana. This lovely purple flower with vine leaves cascading down the back is a beautiful accessory that can be worn casually or for a formal event. This clip is a personal favorite of mine, being a gardener and lover of the outdoors. Every time I walk through the woods (which is often) I am inspired to create a new accessory for the woodland beauty. My own wedding this past year favored the woodland style, and this will always be a favorite look for me. This piece is also customizable. Just contact me if you have a request or can think of something that would make this fit your vision better!


This final preview is being modeled by my beautiful friend Janneal. (The camera loves her!) This simple headband is a TreasuredDetails classic that's been modified more than once for a bride in need of her own creative control over her accessories. These sweet ivory gardenias have been handsewn with pearl bead stamens and affixed to an ivory satin-wrapped headband. Customizations that have been done to this design are turning the 5 gardenias into 5 individual clips or bobbies, and having this made in different colors! Be sure to contact me before purchase though, because colors are limited in this design. 

This is another classic piece that favors the woodland-friendly girl, but also gives a twist on a very traditional bridal look! This veil can also be changed up a bit with the addition of a blusher veil. Ask me if you'd like a customization like that as well. 


When I design, I employ the understanding that the sky is the limit! You deserve the look that suits you best, and I want all my customers to walk away happy. If you like what you see--or at least like what you're reading and want to see more!--shoot me a message and we'll take the first step toward a custom design that makes you happy. 


Credits:

Accessories: TreasuredDetails
Photos: Michelle Cox Photography

Saturday, October 27, 2012

Projects in Progress

With my big photo shoot with Michelle Cox Photography and a group of very lovely models coming up in only one week, I am working like crazy to my production off the ground! I have so many new items already made, and so many being "drafted."


Side note: Sorry, I am a writer. I think of unfinished, in-the-works projects as "drafts." It's just part of my nature!


Anyway, there are so many things to prepare for the shoot as well...props and displays for photographs, outfits for models, and inspirations for the shoot, not to mention finishing touches on the designs!

Oh, I have been and will be a busy woman this week!

Thursday, October 25, 2012

Millinery Experimentation

Today I created my first hand-pressed millinery flower. This is destined to become a creative love affair.

I can't wait to post more about how I did it, and some new creative items that I make. Keep an eye out for more interesting developments in the flower-making department.


Would you ever try s project like this? I've always wanted to, and now that I've done it, I can't wait to do more. 

Sunday, October 21, 2012

TreasuredDetails New Bridal Line

I am excited to announce the coming of TreasuredDetails' new bridal line. Busy fingers have been creating new items for sale for several months, and my workspace is filled with sketches, bits of lace, trailing lengths of ribbon, and pins and needles of all sorts.


For those of you not aware of the changes on hand, I wanted to make sure you knew that the line is coming! Photography, completed by Michelle Cox Photography, is scheduled to take place on November 3rd.


2013 is going to be a big and exciting year for TreasuredDetails! I look forward to sharing all things new with you. Thanks for your support!

Thursday, October 18, 2012

Fabric Hair Bows Giveaway!

We're doing a giveaway! I've actually never done one of these before, but think they're so fun! I love to enter giveaways all the time myself, and I've won some great things through them. If you guys would be interested in entering more giveaways, make sure you participate and share this one. Let's get as many people to check it out as possible :)

You can win this set of fabric hair bow clips from TreasuredDetails! These cuties are handmade and can be used by adults or children. How would you like to add these three bows to your hair accessory collection, for free?

Contact me if you have questions!

a Rafflecopter giveaway

Saturday, October 6, 2012

Black and Blue French Manicure

This fancy black & blue French Manicure is easy and fun to do! As a first step to any manicure, it's important to file your nails smooth along the edges, and rough-up the tops of your nails just a little bit to ensure the polish sticks as it's intended to do. It's important to always use great care when prepping the nails for a manicure, to ensure that the nails aren't damaged or broken before the nail polish is applied. Nothing feels worse than a broken nail under your polish!

The second step is, in my opinion, non-negotiable! This fantastic L'oreal base coat is the best base coat I've ever tried, and believe me, I've tried many. Manicures are notoriously short-lived for me. I've tried all kinds of "long-lasting" polish, even the guaranteed no-chip that you get from the salon. Even that is really pushing the limit if it lasts ten days. And the down side to the no-chip Gelish nails is that they aren't that much fun! You can try to paint nail art on those, but they naturally repel it. 

When you apply this Quick Dry Base Coat, you only need one coat. It feels like it takes a while to dry, but the truth is, it remains a tad bit tacky to the touch, with an almost gritty undertone to it. This is intentional, and the reason this base coat is so good. It's designed to keep the manicure and the nail bonded to each other, and believe me, it does the job. Like any manicure that is not well-cared-for, the final design may wear and chip after while, but this base coat does a better job of keeping the bond strong than most other base coats do.


The next step to this manicure is to gather the tools and colors that you want to use. I wanted to use a light baby blue and black, for sharpest contrast. The tools I needed were masking tape and zig-zag scrapbooking scissors. I used Sally Hansen Pure + Smooth nail color. As a personal note, I generally prefer Essie colors, but every time I go to the store in search of this sweet baby blue, the Essie version is sold out. So


Once your base coat is to your preference (with Essie, it takes approximately two coats, while with this Sally Hansen color, it takes about three), you should begin preparing your masking tape for the French tip. Again, I chose the black color to have the crispest contrast, but when you're working with such opposing colors, you do have to be very careful to not feather the colors under the tape. There's a delicate balance because pressing the tape down on your nail too hard can cause the base color to come up. I usually wait at least 30 minutes before applying the sticky tape to my base color, just to be on the safe side. This can give you time to experiment with your tape pieces.
Once you're ready to start applying the guides to your nails and painting the tips, you can either apply the tips to one hand at a time, or if you have some time to spare, one nail at a time. I like to do one nail at a time myself because then I can be sure that each one is perfect. I do often apply the guide all at once though. Painting the tip is actually quite simple. You can apply as much polish as needed in the first coat, and often subsequent coats are not necessary. Just remember to double check that before removing the guide because it will be really hard to try and tape the guide back on once you've removed it! Don't forget to remove the tape VERY gently so as not to pull off the base color beneath, or the French tip where it overlaps the tape slightly. 

When the French tip is complete, you can double check any lines that need to be fixed or made more defined, because sometimes those lines can feather a little with the removal of the tape. This is also a good time to work on the retouching that may be required wherever the masking tape has pulled up some base color.
If you want to do a cute design like the one I chose for my accent nail, you can either mask out the main line of the ribbon and free-hand paint the bow with an art brush, or you can free-hand it with a nail art pen. I've done both. I love these nail art pens! They came out this year though, and they're quite expensive. I suspect they're being discontinued already because I can seldom find them anymore. I got this one at Target where it had been reduced to $7 (yes, reduced!) and there were only a few color options available where they used to be pretty extensive. Let me know if you find them for sale anywhere! I'd love to know if they're still around! They make painting designs a lot easier for those with an unsteady hand or those who are in a big hurry. 
Before you can call this manicure "complete," you need to add your topcoat! This is especially important if you're using the nail art pen, because the texture of the polish is a little different from the rest of the nail. Also, where you've removed the masking tape, your French tip may peel away slightly, and this top coat is the perfect way to keep it secure. (Remember your French tip doesn't have that added protection of the base coat like the rest of the nail. I have considered trying to do a base coat under the tip as well, but haven't yet. I will let you know when I do!)
Here is the finished product! Let me know if you try this design, or if you have your own cool  design you'd like to share on my blog! Contact me at treasureddetails@gmail.com to contribute, or leave a comment below. I'd love to see your own fancy manicure creations. 


Monday, October 1, 2012

Fall Special for my Fans!

Hello, fans and followers of TreasuredDetails! Thank you for all of your support and your endless scrambling to help us achieve our big number of likes this month. As a big thank you for all of your confidence, I'd like to share a special 40% off coupon code, good for today only! Please, take advantage of this offer, and accept my thanks.

Love and kisses to you all!
Crystal Lynn

Tuesday, August 14, 2012

My Etsy Wedding

I own a shop geared toward brides. It would hardly be fair for me to have anything less than 50% of my wedding be DIY projects. Even those that were not DIY were almost entirely purchased from Etsy shops! I would like to share with you all of the creative beauty--the Treasured Details, if you will--that made up my wedding. Every little bit of my wedding was a bit of love from me to my guests. Thanks to all the great Etsy shops that contributed to the success of the lovely event!

All of the shops mentioned in this post are highly recommended! Also, if you happen to see anything of my design that inspires or interests you, please let me know, or visit my Etsy shop, TreasuredDetails. I love working on custom projects, and after completing my own wedding, I know the importance of patience and customization for brides. I look forward to working with you!

June 2, 2012
The Ladies

Picture the flurry of bridesmaids getting ready for their big day, arriving at the hair salon at 8am for their fancy hair styles! Each of my bridesmaids wore custom-crafted hair accessories designed specifically for them by me. I designed hair accessories for each of them based on their hair types and on the hair styles they wanted to use for the wedding. This is one of my beautiful bridesmaids, Kelly, sporting a crochet lace and ribbon headband in her long hair. 


When we arrived at the venue, which was an apple orchard, the girls and I went up to our bridal room where they picked up their bouquets, which I also made individually for each of them. Their bouquets were each accented with a charm that I chose and that had significant meaning for each of them. I also designed my own bridal bouquet and added a touch of "something blue" in the bright monarch butterfly. 


In the bridal room, we spent some time getting ready. The girls put on jewelry that was designed by a fantastic team on Etsy, Tracy and Charyl of Rustic Gem Jewelry. I was more than pleased with the beautiful designs made just in the accent colors I wanted for my girls. The necklaces were seed pearls with asymmetrically placed resin flowers, and the earrings matched. My bridesmaids wore white pearls and my maid of honor wore light blue pearls, but each necklace was completely unique so that none of the girls were wearing the same piece as another!


My maid-of-honor, my sister Michelle, purchased these adorable clutch purses for each of us. These were custom designs from another Etsy seller, and I will update with their name and information as soon as I receive it! The girls each had different yellow designs and my clutch was a mostly white with yellow flowers. I accented it with a blue vintage pin given to my by my mother-in-law on the first Christmas after my husband and I started dating!


I wore a tiny charm bracelet with my husband's initial on it. It was purchased from a lovely Etsy shop called Mon Cadeau. I wanted to wear something that signified my love for him, and our connection. I've been wearing it since the wedding almost 3 months ago. When it broke, the gracious shop owner agreed to fix it for me for a small and reasonable fee. I enjoyed doing business with her very much!


My bridesmaids made requests about their additional accessories, and one of mine asked for puffy shoe clips made of tulle. I was really excited to make these for her, though stressed out because I made them the day before the rehearsal! 


For my wedding day, I personally wore a beautiful rhinestone comb purchased from a wonderful Etsy shop called The Pemberley Collection. My subtle literary theme made it impossible for me to avoid buying something so beautiful from a shop with such a significant name!


I also created a veil and the other hair accessories that my bridesmaids wore from supplies purchased at my very favorite Etsy shop, Mary Not Martha. They are my favorite suppliers to work with! They are so helpful and their products are the absolute highest quality goods. 

The Gentlemen

I custom designed each boutonniere, corsage, and bouquet that was carried at the wedding, creating flowers for all immediate family members, grandmothers, wedding party members, and special guests. Each one was unique for the guests' particular role. The flower creation and design was an extremely detailed process for me, but it was a labor of love (one that took many, many hours of working late into the night) that I thoroughly enjoyed doing for my loved ones and friends. Pictured is one of the custom boutonniere designs for an usher. 


My husband chose custom-designed cufflinks for each of his groomsmen, and purchased them separately from various Etsy shops. Each cufflink spoke of something significant about his relationship with each of them. I did the same for him, choosing cufflinks that were significant to our relationship. And I should add that I purchased 3 different ones before hitting on the perfect one. I choose these little backpack cufflinks for him because backpacking has been a hobby that we've shared since we started dating. These were purchased from an Etsy shop called Mancornas.


The Ceremony and Reception


My mom was the most creative designer of our reception! She created so many wonderful things to make our celebration a success! She has always been my inspiration behind creating Treasured Details, and she was an essential part of making the littlest details so significant that day. One of my mom's earlier projects was a little added detail to the jar candle holders that we placed on all the tables. We also added vintage crystal to the table for additional candle holders. 


Together my bridesmaid Kelly and I created the place cards which were truly based on a library card design. (See? That subtle literary theme I was talking about!) The library card boxes were purchased off the clearance rack at Joann Fabric and my mom did a painting technique on them to make them look like dark wood. I created the labels for the card catalogs. 


A few days before the wedding, my mom put together some creative signage that was strategically placed all around the reception hall. We were married in a large open garden under an ancient oak tree, and our reception was held in a large barn (we use the term loosely, because it was actually incredibly elegant!) Our guests rode trolleys to and from the ceremony site. The signs were meant to deter them from getting lost! 


For our wedding favors, my mom made homemade fudge which we placed in tiny boxes. I purchased these adorable custom labels from a lovely seller called MAUpromos. They were great to work with and they created a wonderful product that looks exactly like I wanted! 


In keeping with the two birds theme from the custom favor box labels, my mom created a giant, hand-painted banner kind of on the fly the last week before the wedding. She wanted to cover the big plain wall at the back of the downstairs portion of our reception hall. She also created the custom finials made of natural brush and added the beautiful Chinese lanterns that I was determined to have all along! 


Activities


When Nick and I first started talking about our wedding, one of our number one requirements was that our guests not be bored! We were thrilled when our reception hall suggested that we have games and even gave us outdoor patio space for bean bags. My dad is a fine carpenter who makes beautiful bean bag games, so we were able to use one of his sets, and my mom sewed together these adorable bean bags in our wedding colors. I was so happy to see our bean bag game provide hours of entertainment to our guests! 


Just in case bean bags and dancing weren't your cup of tea, we provided a few other activities! One was a scrapbooking table for our interactive guest book. This was a great place for people to stop and spend a little creative time between dinner and visiting the bar, donut and cider table, or cupcake table! 


Our night also included some musical entertainment from our friends--they performed some of the slow songs while the DJ provided some massive entertainment for the interactive dancing music. We created table programs so that all the guests would know who was expected to perform (though not which songs they were doing, because I didn't even know that!) The back side of the table programs had a fun photo scavenger hunt game that some of our guests participated in all night long. We enjoyed checking out the photos they uploaded to Facebook for us! 


Additional Details


I purchased a Scrabble letter "LOVE" banner from a cute Etsy shop called Purple Peony Couture, and used this for some fun photos after the reception. One of these fun photos is now rocking out on some of our wedding thank-yous! I have also made plans to hang this banner on the wall of our apartment, but I just haven't bought that stud finder yet...


Our wedding invitations were a huge hit from the beginning, and they were the first installment in the literary theme. Also the large tree was a perfect addition, as my guests discovered when they came to the ceremony, because we were married under a large oak tree! These invitations were custom made by VO handmade, and I absolutely loved working with the designer, Vanessa. She was so patient with me in my pre-wedding freak-out (don't all brides have that?) and she created a product that I was proud to send out to each of my guests. 


Our wedding programs were made and designed entirely by me to save money and time, and then my bridesmaid Kelly had them printed for me! We printed them in a creamy yellow and a nice light blue, placing them alternately in a basket. They were a nice touch, and a beautiful detail for the wedding. Pictured is my beautiful best friend Robin (my was-going-to-be-a-bridesmaid-but-got-pregnant-and-was-due-the-week-of-my-wedding best friend...turns out baby Dash was a little early and she came in that hot little cocktail dress after all! Too bad we couldn't see the future on that.) She is wearing a wrist corsage I made for her. 


Last but definitely not least is the most complicated project of all...one that started the first week of wedding planning and was completed the last day of wedding planning 11 months later. The table centerpieces! These were created with assorted vases and jugs, some hand-painted by my mom and myself to make them match the theme. The flowers are silks that were purchased over the course of those 11 months and arranged by both of us. The lovely table numbers were brainstormed by me and created by my talented mom. 


My wedding was a dream come true! I married the most wonderful man I know, the wedding was beautiful, and my guests all had a wonderful time!